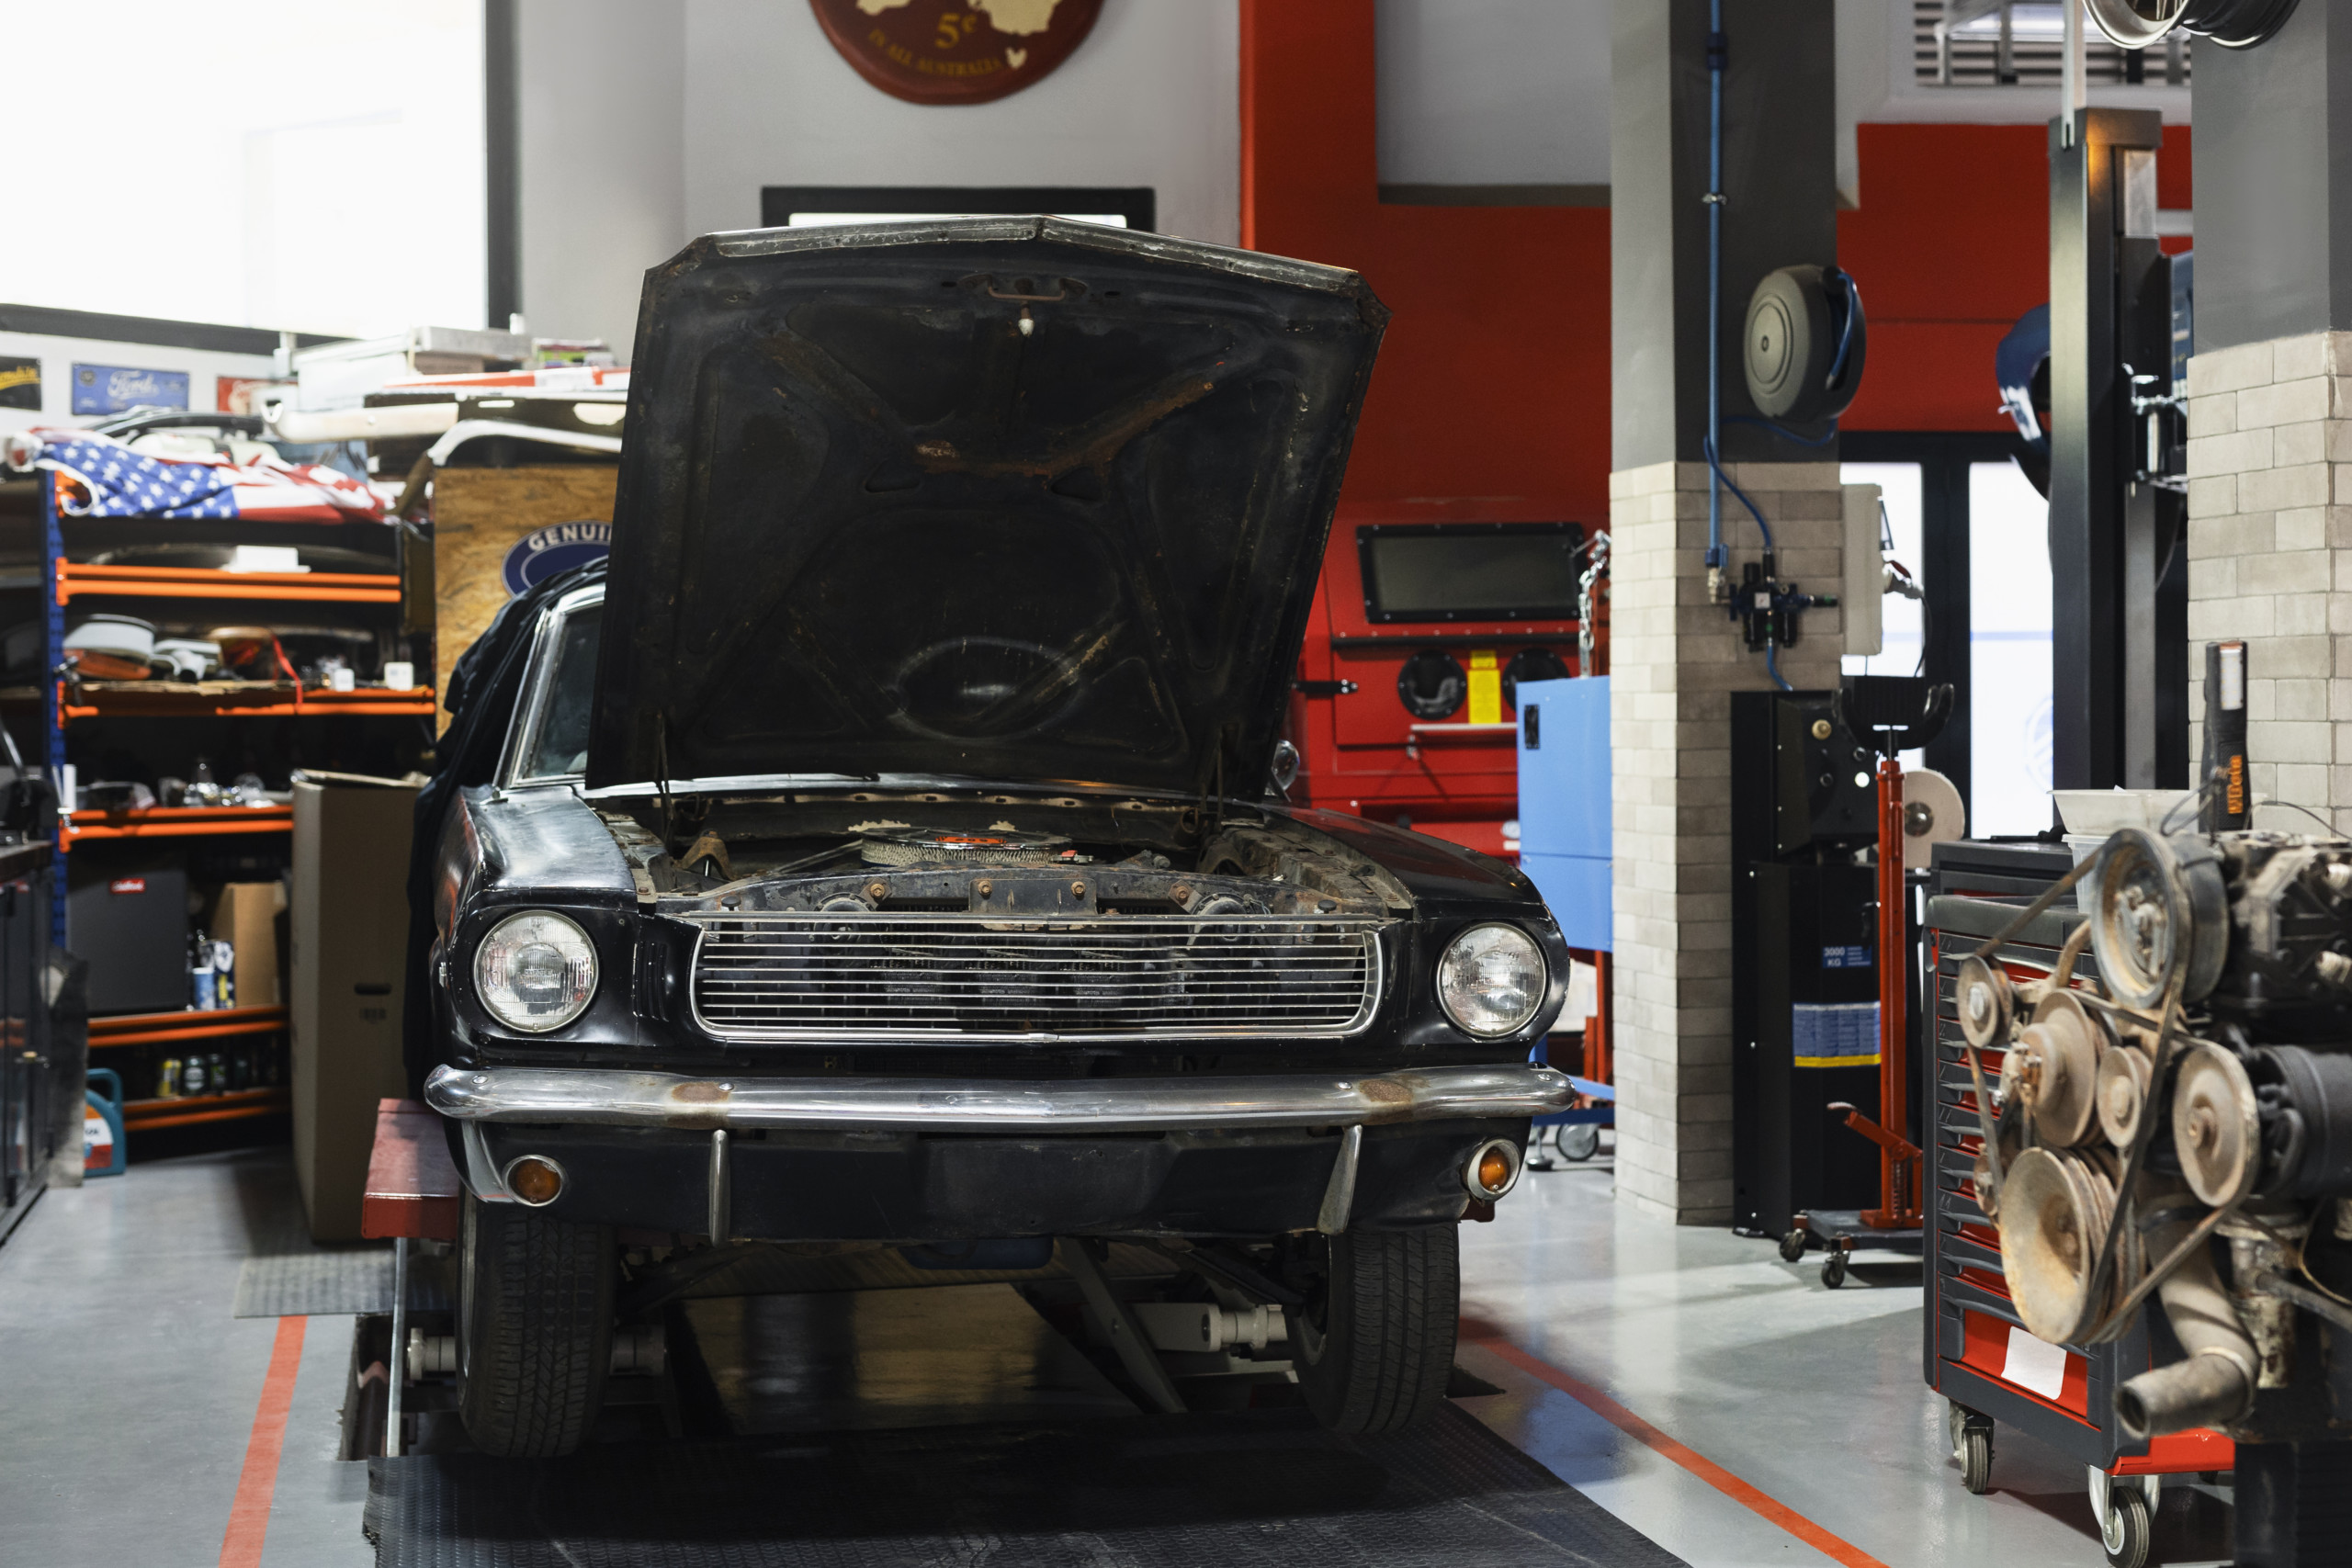
If you own a classic car, you understand the importance of maintaining its authenticity and performance. One crucial component that may need replacement over time is the radiator. Upgrading to a brass radiator not only enhances your vehicle’s vintage appeal but also improves its cooling efficiency. In this guide, we’ll provide simple instructions on replacing your classic car’s radiator with a brass one, ensuring smooth operation and longevity.
A Step-by-Step Guide
Step 1: Gather Your Tools and Materials
Before starting the replacement process, gather all the necessary tools and materials:
– Brass radiator compatible with your classic car model
– Spanner set
– Screwdrivers
– Drain pan
– Coolant
– Hose clamps
– Hose cutter (if needed)
– Safety goggles and gloves
Step 2: Prepare Your Vehicle
Park your classic car on a flat surface and allow the engine to cool down completely. This prevents any potential burns from the hot coolant. Next, open the bonnet and locate the radiator. You may need to remove any obstructions such as hoses or fans for easier access.
Step 3: Drain the Coolant
Place the drain pan underneath the radiator drain valve to catch the coolant. Using a spanner, loosen the valve and allow the coolant to drain completely. Remember to dispose of the old coolant properly according to local regulations.
Step 4: Remove the Old Radiator
Once the coolant has drained, disconnect the hoses attached to the radiator. Loosen the hose clamps with a screwdriver and carefully remove the hoses. Next, locate the mounting bolts securing the radiator in place and remove them using a spanner. Gently lift the old radiator out of its position and set it aside.
Step 5: Install the Brass Radiator
Place the new brass radiator into position, aligning it with the mounting brackets. Secure the radiator by tightening the mounting bolts with a spanner. Reattach the hoses to the appropriate connections on the brass radiator, ensuring a snug fit. Use hose clamps to secure the hoses in place.
Step 6: Refill with Coolant
Once the new radiator installed, refill the cooling system with the appropriate coolant for your classic car. Follow the manufacturer’s recommendations for the correct coolant type and mixture ratio. Make sure to bleed any air pockets from the system by opening the bleed valve if your car has one.
Step 7: Test for Leaks
Start the engine and allow it to run for a few minutes while monitoring for any leaks or abnormalities. Check the connections around the radiator and hoses for signs of leaking coolant. If everything looks secure, close the bonnet, and take your classic car for a test drive to ensure proper cooling performance.
Step 8: See a Specialist if You Are Struggling
If you encounter any difficulties during the radiator replacement process or if you’re unsure about any step, don’t hesitate to seek assistance from a specialist or professional mechanic or get in touch with NAR Group who can provide you with the necessary technical assistance. Classic cars can have unique intricacies, and it’s essential to ensure the job is done correctly to avoid potential damage or safety hazards. A specialist can provide expert guidance, troubleshoot any issues, and ensure the correct installation of your classic car’s radiator. Don’t hesitate to reach out for help if needed to preserve the integrity and performance of your cherished vehicle.
A Simple Process
By following these simple instructions, you can successfully replace your classic car’s radiator with a brass radiator. Not only does this upgrade enhance the vintage charm of your vehicle, but it also improves cooling efficiency, ensuring optimal performance on the road. With proper maintenance and care, your classic car will continue to turn heads for years to come.


